Easy Garden Box
Happy Monday, friends! It is almost May, and with that, I thought I'd share our garden with you today. We've been in our house for nearly two years now, but the great majority of that time has been spent working on the interior of our home - working room by room. The kitchen was our last big project and it was finished almost a year ago, but we've spent the last several months just enjoying the state of things before perhaps updating some bathrooms or flooring. Not to mention having added a puppy to the mix, we've been adjusting to having him in our space as well.
Now, however, we feel like it's about time we start showing our outdoor areas some love. We have been good about clean-up in the fall (we live in a forest... just imagine the sheer volume of leaves we have to clean up), and we try our best to keep shrubs and things well groomed, but it has gotten to a point where most of our backyard has gotten away from us. So much has become overgrown and as two people who wouldn't exactly call themselves 'green thumbs,' it's been a bit of a struggle. Right now, about 2/3 of our backyard is a muddy, tilled mess. We are hoping to get it all fertilized and seeded for grass, but because of all the rain we've been getting, it's mostly just a sloppy, goopy, mud pit. Good thing I've got my Hunters!
While we try to get our yard ready for grass, though, we thought we should also take this opportunity to add in a garden box. Why not, right? Everything else is a mess, might as well do it while we're already dirty!
Thankfully, it was incredibly simple thanks to some sand, cement blocks, planks of wood, and some dirt. Here's how we did it:
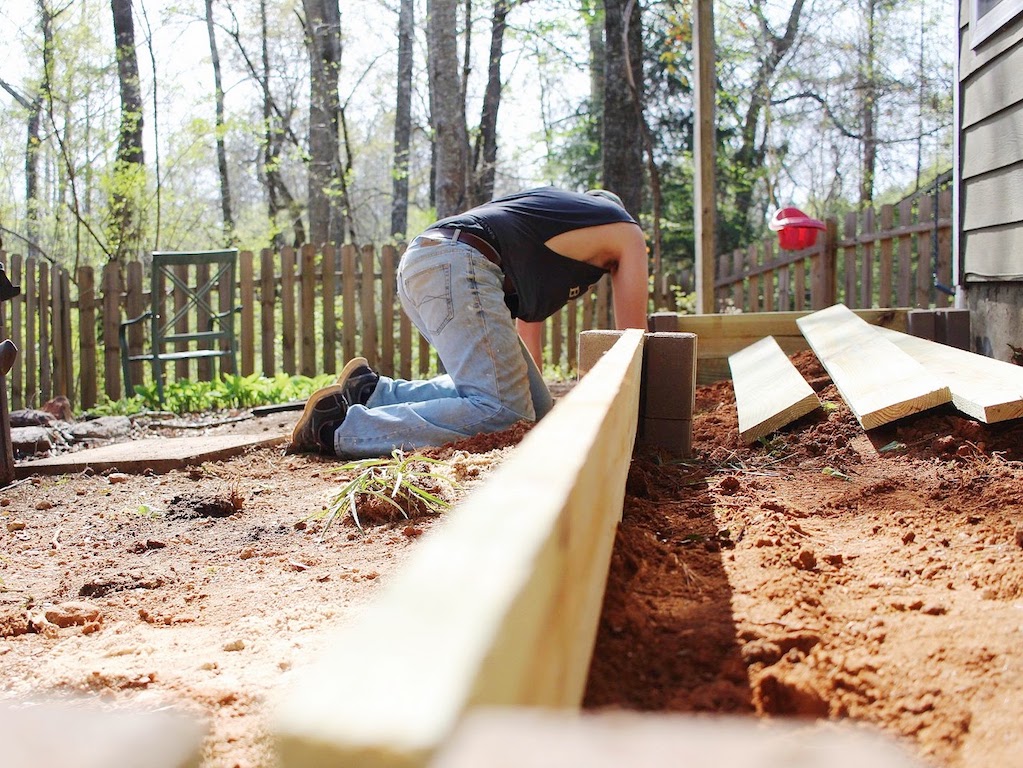
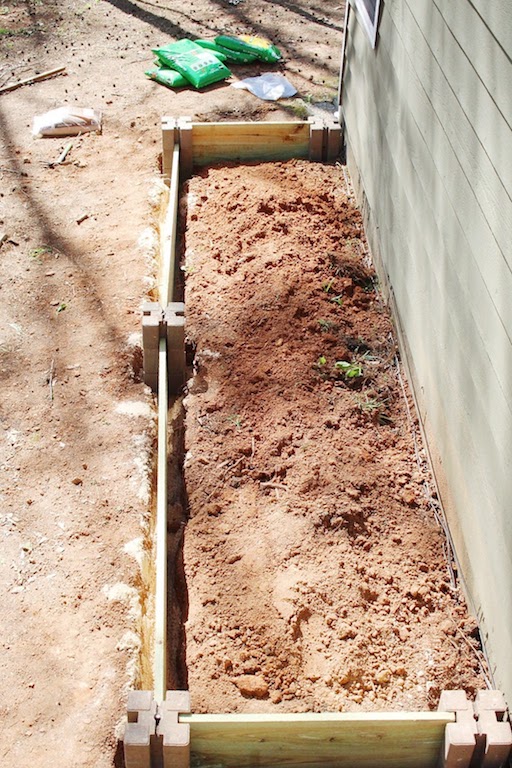
- We dug out the perimeter and made spaces for the blocks and planks.
- We placed some planks in the slots to be sure they'd come up even with the tops of the blocks. Then we evened things out with sand at the base and made sure our blocks were level with one another. Tom also used some metal poles to put down the center of the blocks and into the ground to keep them in place.
- Tom cut the planks to size and we made sure everything fit just right before filling the sides in with dirt.
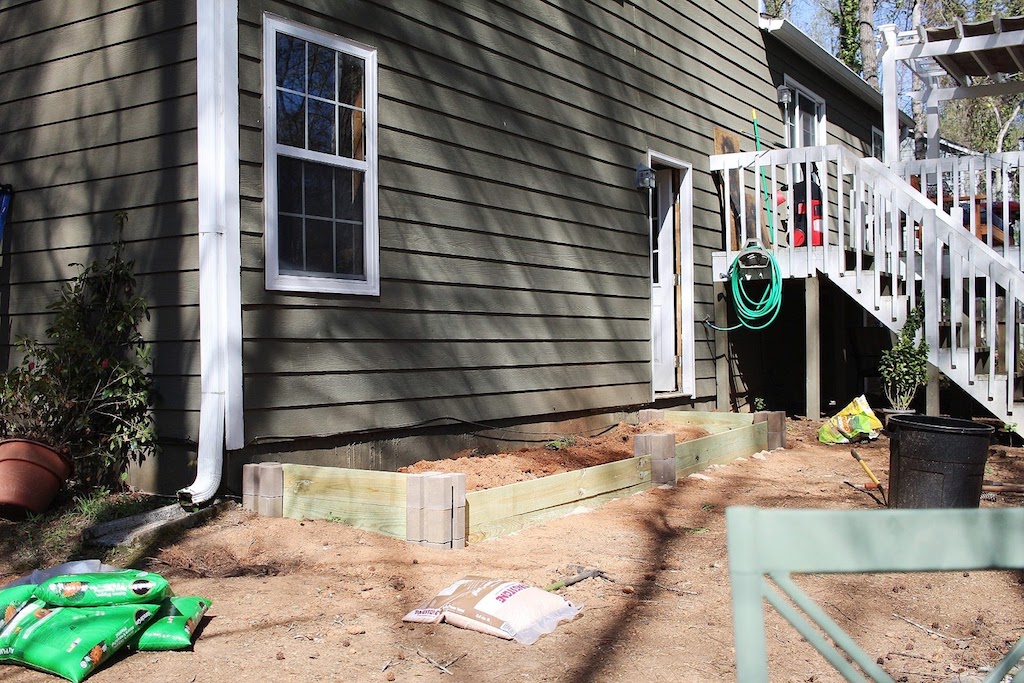
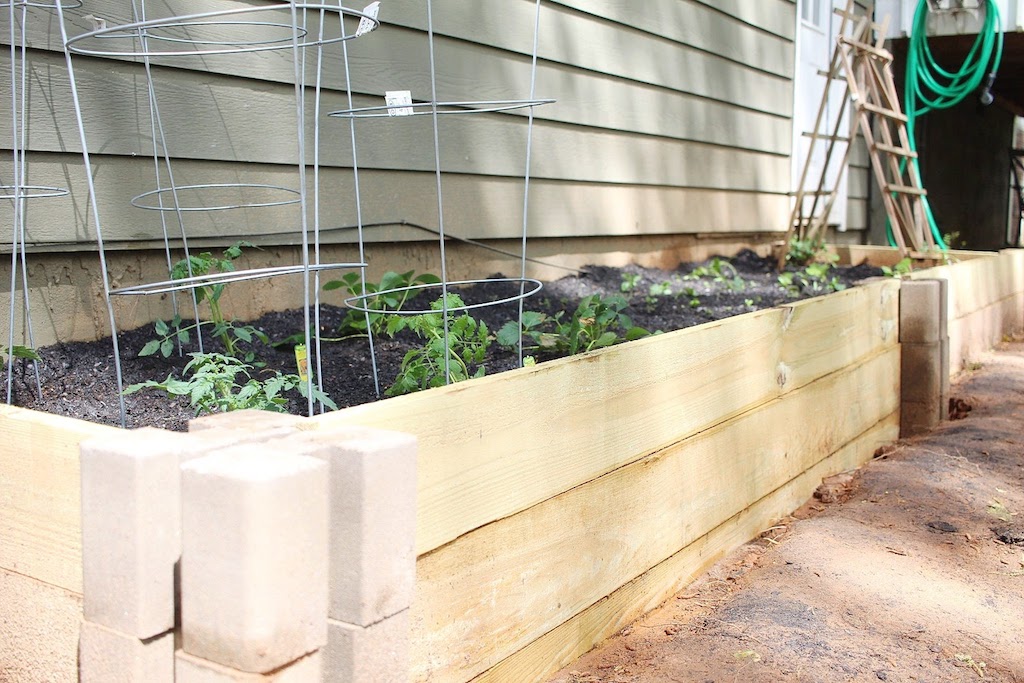
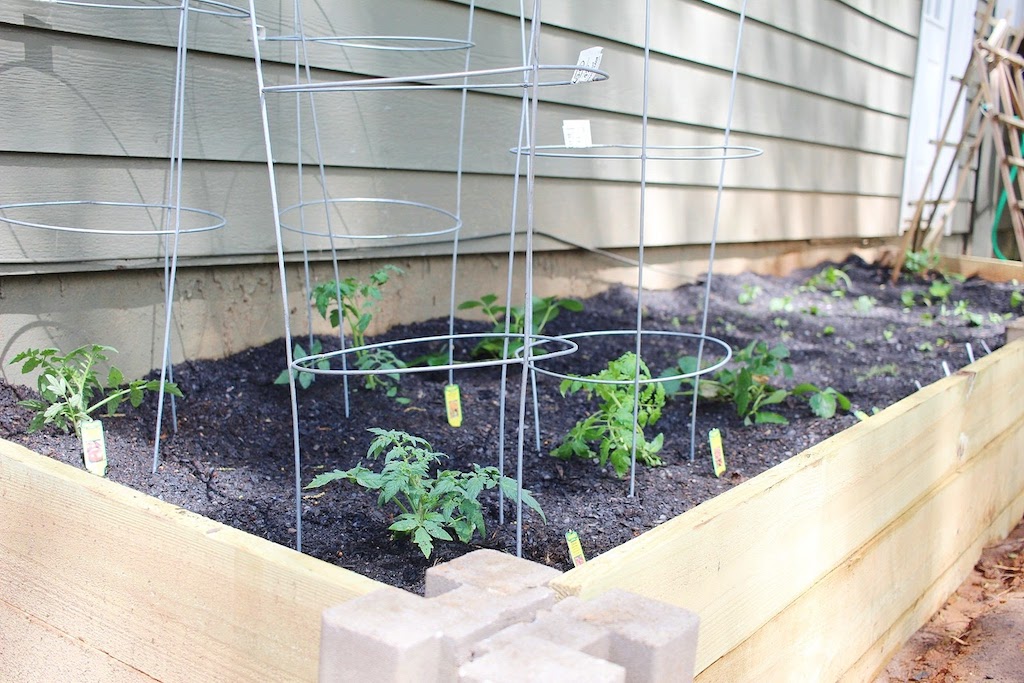
- We layered topsoil into the box and planted our little seedlings in orderly rows.
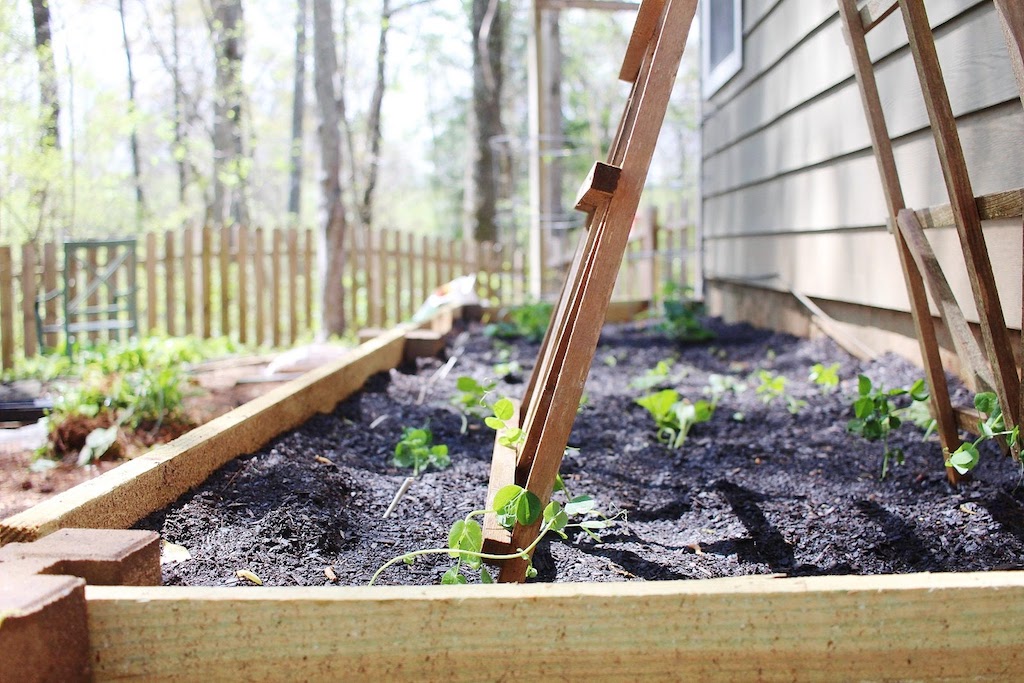
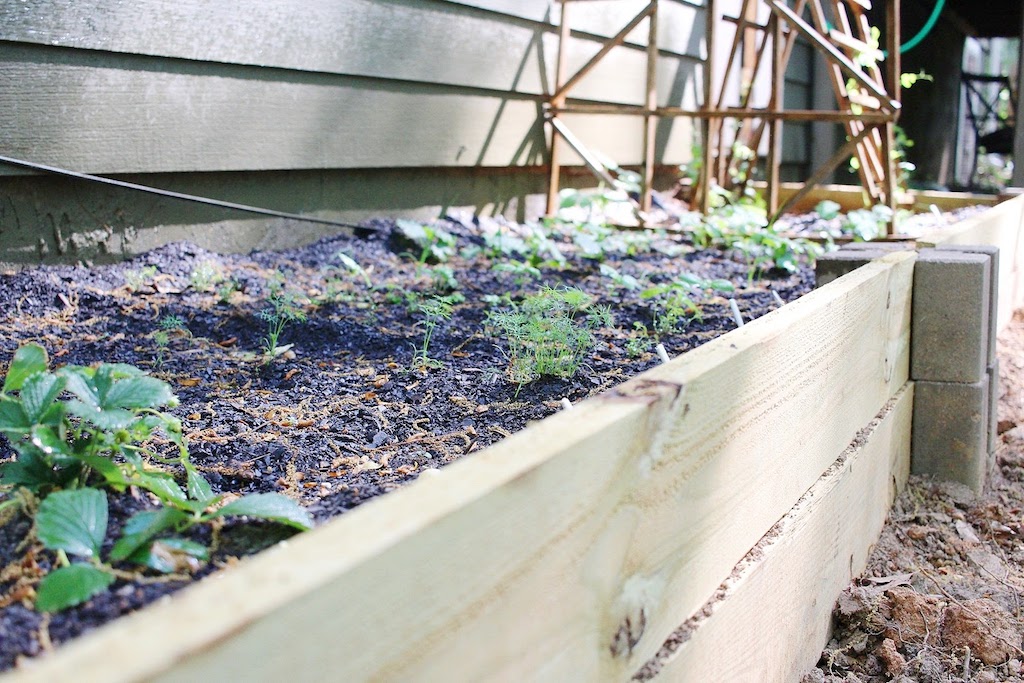
Here are a few photos! We are so happy with the results and it only took us a Saturday afternoon to finish. Isn't it pretty?

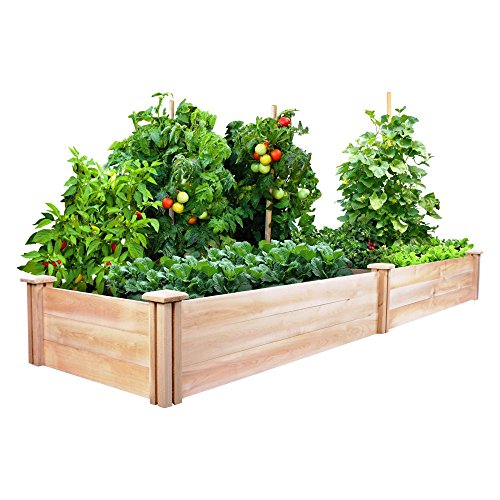
Here is a link to the cement blocks we used - these were such a help!
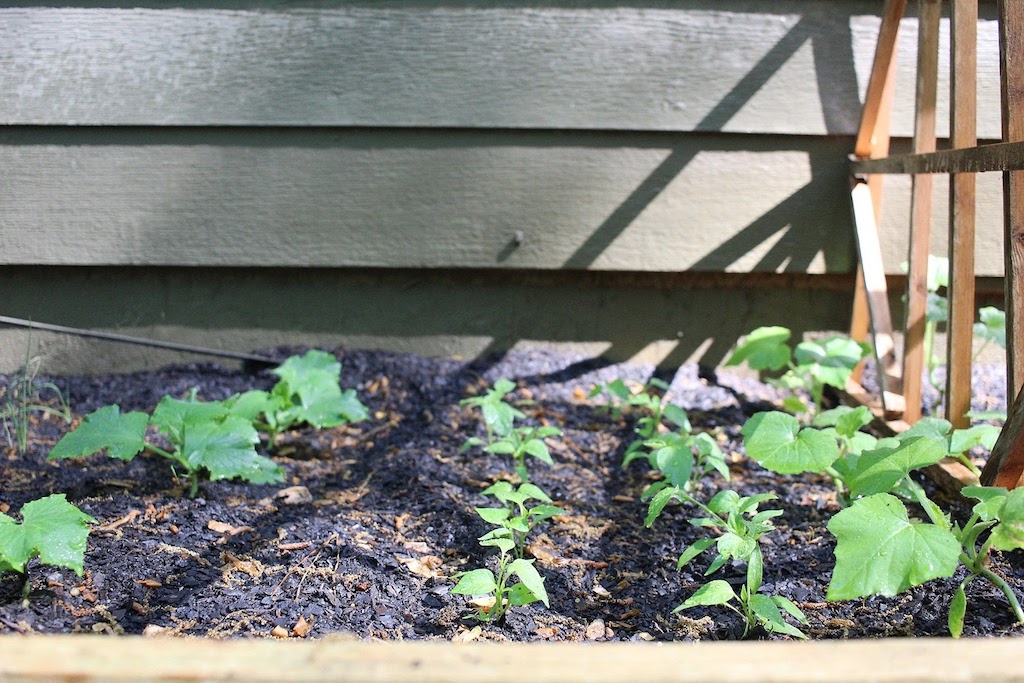
So far, everything has been growing beautifully. Here's a list of what we have growing:
- Large tomatoes
- Cherry tomatoes
- Strawberries
- Rosemary (not doing so hot, though)
- Dill
- Thyme
- Basil
- Bell Peppers
- Cucumber
- Green onions
- Yellow Squash
- Snap peas
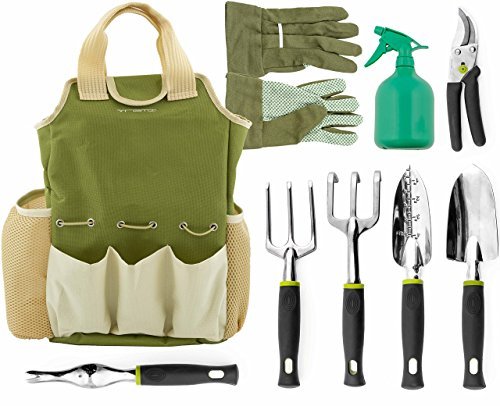
I also thought I'd also include some affiliate links of products that might come in handy:


So what do you think? Pretty simple, but cute, right? We're excited to start reaping the rewards of this little patch of land, and we're hoping our grass comes in just as nicely! Let me know if this garden post was helpful or inspiring for you! Do you have a garden at your place? What're you growing?